How to Paint Your Room: All-in-One Self Paint Kits
Refreshing your living space is one of the most rewarding projects you can undertake, and finding the right self paint kit for home is the first step toward achieving that professional finish yourself. Whether you are looking to brighten up a bedroom or renovate your entire living area, having the correct tools makes all the difference. DIY painting has evolved from a messy chore into a creative weekend activity.
With the right guidance and supplies, anyone can transform their walls. You do not need years of experience to handle a brush or roller. This guide will walk you through everything you need to know about using a self-painting kit effectively.
Why Choose a DIY Painting Approach?
Taking the DIY route offers more than just financial savings. It gives you complete control over the timeline and the outcome. When you hire contractors, you work on their schedule. However, doing it yourself allows you to paint at your own pace.
Furthermore, there is a distinct sense of accomplishment that comes with home improvement. Seeing your room transform through your own effort is incredibly satisfying. Modern kits are designed to minimize mess and maximize efficiency, making the process smooth for beginners.
What Goes into the Perfect Painting Kit?
A comprehensive kit eliminates the guesswork of shopping for individual supplies. As leading Washing and Cleaning Brush Manufacturers in India, we understand that tool quality dictates the final result. Here is what essential components you should look for.
High-Quality Paint Brushes
Detailed work requires precision. A good kit includes various brush sizes for different needs. You need angled brushes for cutting in around corners and flat brushes for trim work. Cheap bristles often shed and stick to the wall, ruining the finish. Therefore, professional-grade synthetic bristles are preferred for water-based paints.
Durable Paint Rollers and Frames
Covering large surface areas requires a sturdy roller. A high-density roller sleeve ensures smooth application without leaving lint behind. The frame must be comfortable to grip for extended periods. This reduces wrist fatigue and helps you maintain even pressure on the wall.
Essential Accessories
Painting is 80% preparation and 20% application. Your kit should include a paint tray for easy loading. Additionally, masking tape is crucial for protecting switchboards and skirting boards. Drop cloths or plastic sheets are also necessary to keep your floors paint-free.
Step-by-Step: How to Use Your Kit
Once you have your supplies, it is time to get to work. Follow this logical flow to ensure a mistake-free painting session.
Step 1: Preparation and Cleaning
Paint adheres best to clean surfaces. Dust and grime can prevent the paint from sticking properly. Use a cleaning brush to dust off the walls and baseboards. Fill any holes with spackling paste and sand them smooth once dry.
Step 2: Taping and Protecting
Apply painter’s tape along the edges of the ceiling, baseboards, and windows. Press the tape down firmly to prevent paint bleed. Lay down your drop cloths to protect furniture and flooring from accidental splatters.
Step 3: Cutting In
Start by painting the edges where the roller cannot reach. Dip your brush about an inch into the paint. carefully paint along the tape lines and corners. This creates a “frame” for the rest of the wall.
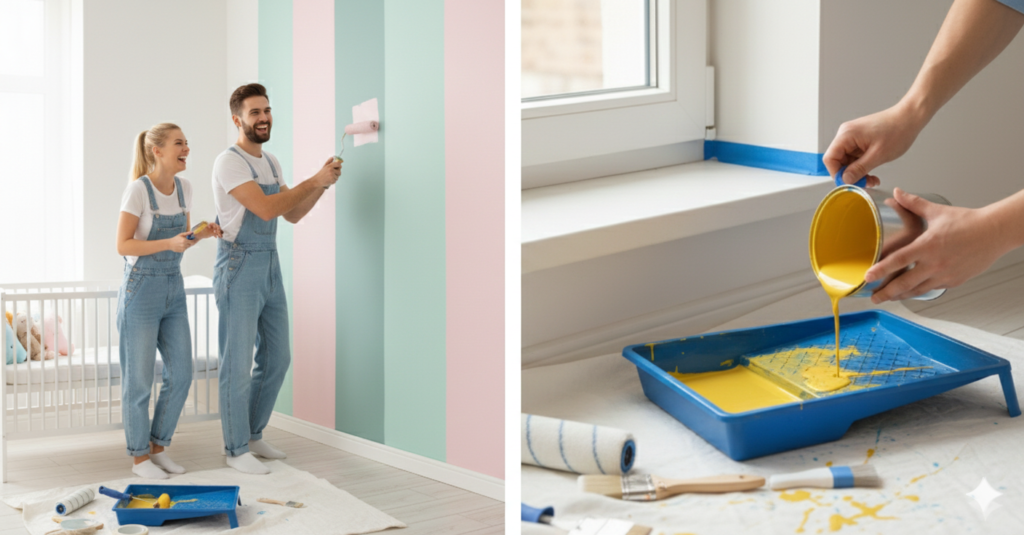
Step 4: Rolling the Walls
Pour paint into your tray. Load the roller evenly. Apply the paint using a “W” or “M” pattern to distribute it across the wall. Then, fill in the gaps with vertical strokes. Avoid pressing too hard; let the roller do the work.
The Importance of Quality Tools
Many beginners make the mistake of buying expensive paint but using cheap tools. This is a recipe for disaster. Low-quality brushes leave streak marks, and cheap rollers splatter paint everywhere.
Investing in tools from reputable manufacturers ensures longevity. You can clean and reuse high-quality brushes and rollers for future projects. This makes them a sustainable and cost-effective choice in the long run.
Frequently Asked Questions (FAQs)
Q: Do I need a primer before using a self paint kit? A: If you are painting over a dark color with a light one, or if the walls are new drywall, a primer is essential. For repainting similar shades, a self-priming paint is usually sufficient.
Q: How do I choose the right roller nap size? A: For smooth walls, use a shorter nap (like 3/8 inch). For textured surfaces like brick or rough plaster, a thicker nap (3/4 inch) is better to get into the crevices.
Q: How can I clean my brushes after painting? A: For water-based paints, wash brushes with warm soapy water immediately after use. Spin them dry or use a clean cloth to remove excess moisture before storing them.
Q: Can I reuse the paint tray? A: Yes. You can either wash the tray out or use disposable tray liners. Liners make cleanup instant and extend the life of your hard plastic tray.
Conclusion
Transforming your home does not require professional contractors; it simply requires the right tools and a bit of patience. A well-equipped self paint kit for home empowers you to take charge of your interior design. By following proper preparation steps and using quality brushes and rollers, you can achieve a flawless look that revitalizes your space.
Ready to start your home renovation journey? Ensure you have the best tools in hand for a smooth, professional experience.
📞 संपर्क करें

PUSHPANJALI ENTERPRISES
📍 पता: 123, Raisan North Haldaur Distt. Bijnor Uttar Pradesh 📞 फोन: 07037044001, 09760474001 📧 ईमेल: pushpanjalienterprisesindia@gmail.com 🌐 वेबसाइट: www.pushpanjalienterprises.co.in
📲 व्हाट्सएप ऑर्डर सपोर्ट उपलब्ध: Click Here to Chat